How to Pack a Backpacking Backpack: Where Every Item Goes
How we did this: the packing order follows the method published by SectionHiker’s Philip Werner (10 Mar 2026), which we quote. The pack figures come from each maker’s product page, checked on 29 Sep 2026.
To pack a backpacking backpack, work from the back panel out and the bottom up: pad against your back, sleeping bag in the bottom, heavy food and cook gear in the middle against your spine, light daytime items on top, water and snacks in the pockets. Then fill the gaps and cinch the straps. How much room you have close to your back depends on your pack: on some popular packs, 40% of the volume is in outside pockets.
How to pack a backpacking backpack, step by step
- Back panel first. On a frameless pack, fold a foam pad or sit pad flat against the inside back panel. SectionHiker calls this creating “a virtual frame”; it stops the pack collapsing and keeps hard items from poking you.
- Sleeping bag or quilt in the bottom. Loose, not stuffed tight, with sleep clothes around it. It is light, you will not need it until camp, and it cushions your lower back and hips.
- Heavy items in the middle, against your spine. Food, cook gear and other dense items go here. A small bear canister goes here too, usually upright.
- Fill every gap with soft gear. Spare clothing, rain gear or a tarp lock the heavy items in place so nothing shifts.
- Light daytime items on top. Insulation layer, rain jacket, first-aid kit, headlamp.
- Outside pockets for what you reach for. Water bottles, snacks, maps, sunscreen, wet gear.
- Compress and test. Tighten the compression straps evenly, close the top, lift the pack and shake it gently. If anything moves, repack.
“The heaviest items go in the middle of the pack. This area should sit close to your spine and roughly between your shoulders and hips. Food, cook gear, and other dense items belong here. Keeping weight close to your back reduces leverage and makes the pack feel lighter while walking.”
Philip Werner, SectionHiker, How to Pack a Frameless Backpack
How much of your pack is outside the main body
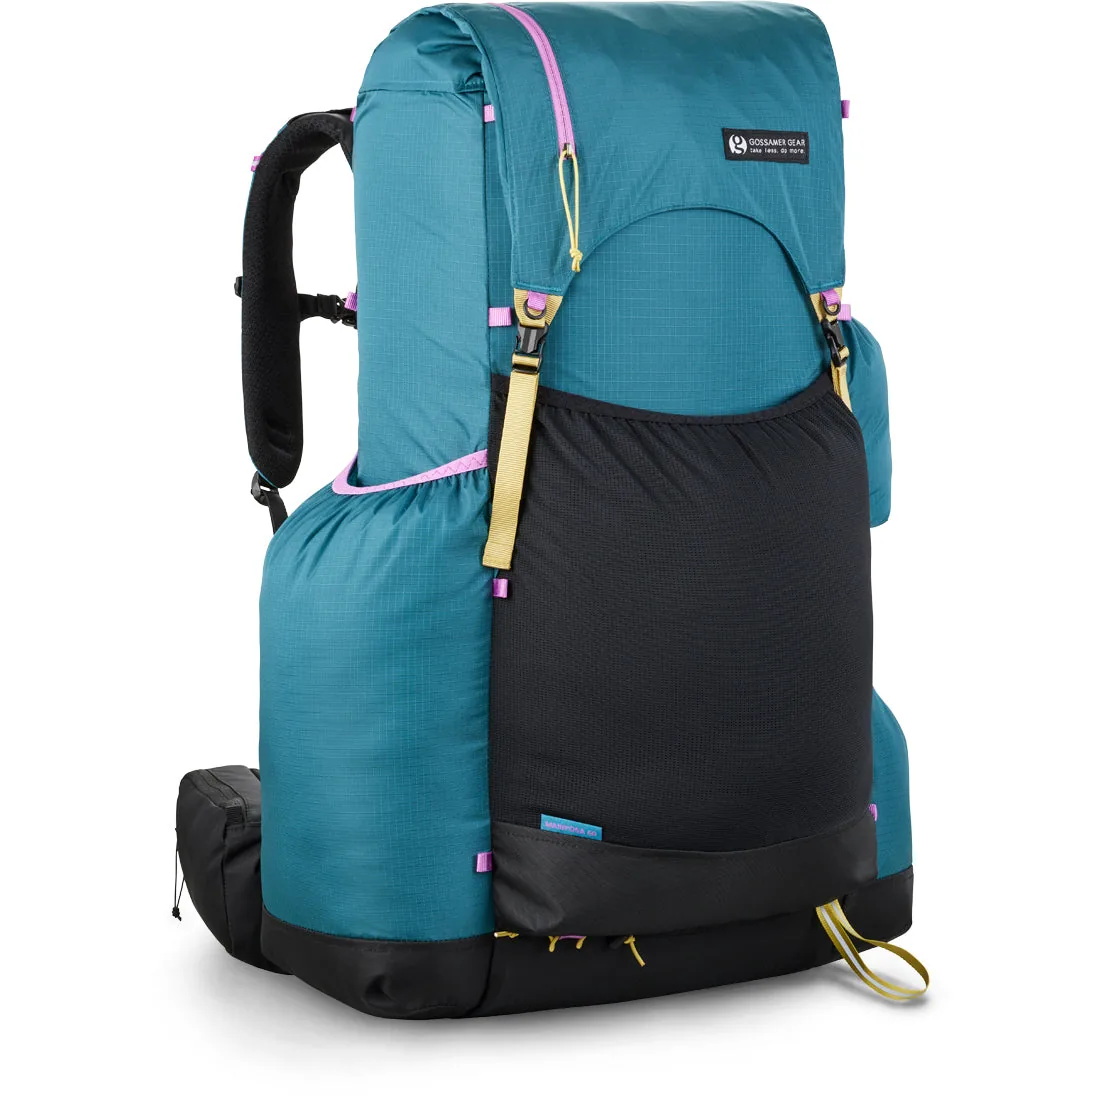
The rule is heavy items close to your back. That only works if the main body is big enough for them, because outside pockets sit away from your spine. Makers publish the split:
| Pack | Main body | Outside pockets | Share outside | Load rating |
|---|---|---|---|---|
| Gossamer Gear Mariposa 60 | 36 L | 24 L | 40% | 30 lb comfort |
| Gossamer Gear G4-20 42 | 30 L | 12 L | 29% | 25 lb comfort |
| Gossamer Gear Kumo 36 | 28 L | 8 L | 22% | 20 lb comfort |
| Zpacks Arc Haul Ultra 60 | 47 L | 13 L | 22% | 30–35 lb comfort |
| Durston Kakwa 55 | 55 L | 15 L | 21% | 45 lb comfort |
| Hyperlite Southwest 55 | 55 L | 13.4 L | 20% | 40 lb max |
Sources: each maker’s product page, linked, checked 29 Sep 2026; percentages are our calculation. The Mariposa’s main-body figure is to the extension collar, so the collar adds room above it.
What it means: on the Mariposa 60, keep the seven pockets for water bottles, snacks and light or wet things, and put all food inside, against your back. On packs with about a fifth of their volume outside, like the Kakwa 55, Southwest 55 and Arc Haul Ultra 60, most of your kit already sits in the main body.
Pack to the rating, not to the volume
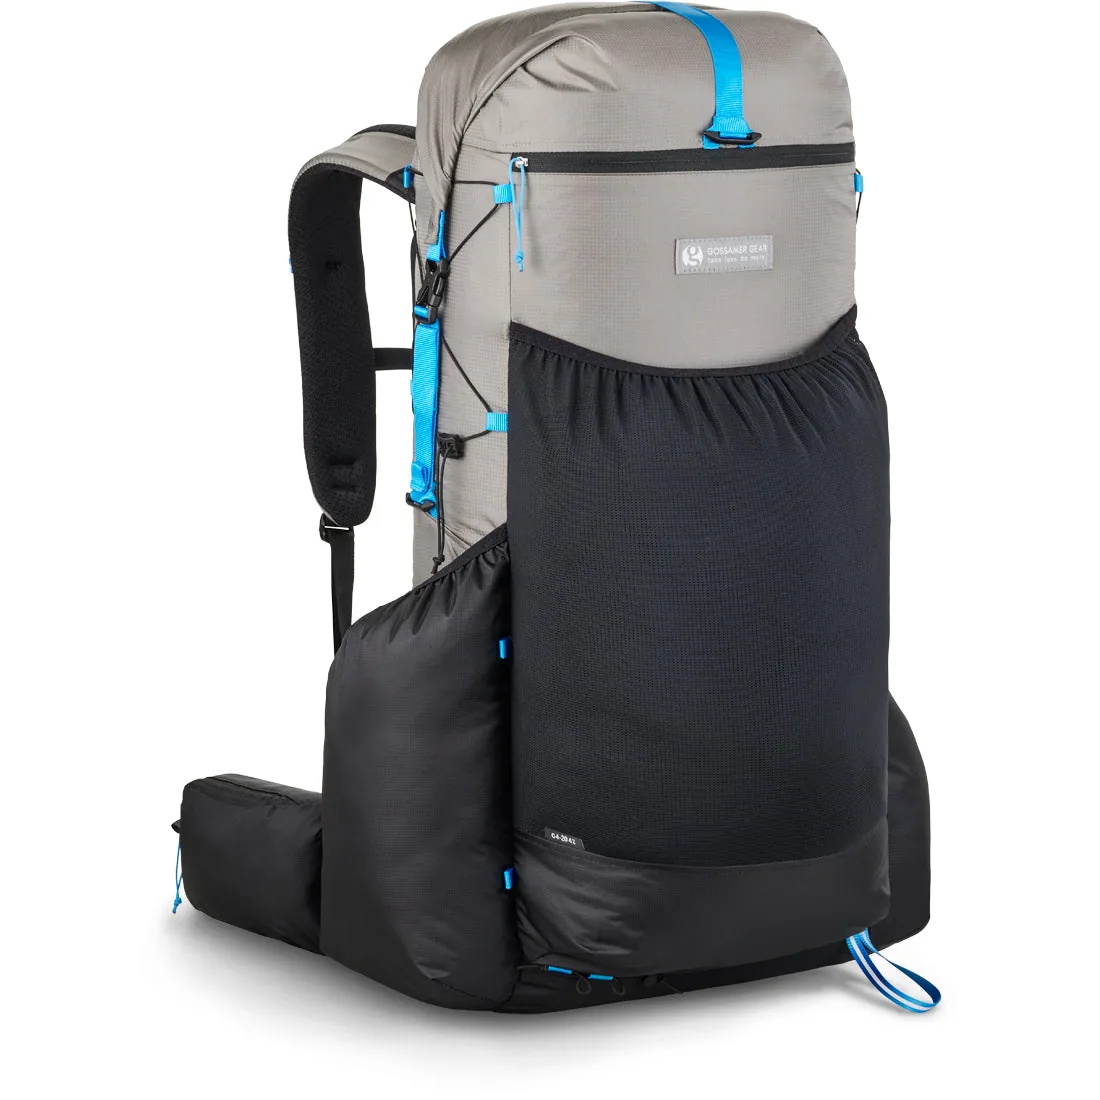
A full pack can still be too heavy for its suspension. Each maker publishes a load rating. The frameless Gossamer Gear Kumo 36 is rated 20 lb for comfort and the G4-20 25 lb, in line with SectionHiker’s advice to keep a frameless pack under about 20 to 25 lb. Weigh the packed bag with food and water before a trip, and compare it with the rating in the table above.
Keep it dry
A pack liner or roll-top sacks keep your sleeping bag and clothes dry if water gets in; see ultralight dry bags compared per liter.
Common mistakes
- Heavy items in large rear mesh pockets, which pulls weight away from your back.
- A tightly stuffed sleeping bag that leaves empty corners, so the load shifts.
- Tightening the compression straps unevenly, or not at all, once the pack is full.
- Packing past the pack’s load rating because the volume allowed it.
FAQ
What is the right order to pack a backpacking backpack?
Where should heavy items go in a backpack?
Where does the sleeping bag go?
What goes in the outside pockets?
How do I pack a frameless backpack?
The bottom line
Pack from the back panel out and the bottom up: pad, sleeping bag, heavy food against your spine, light daytime gear on top, water and snacks outside. On pocket-heavy packs like the Mariposa 60, keep the pockets light, and never pack past the maker’s load rating.
Related guides
Keep building your system with these closely related guides.
- Ultralight Backpacks: 8 Packs Compared
- Gossamer Gear Backpacks: All 8 Compared
- Ultralight Dry Bags, Per Liter
- How to Reduce Your Backpacking Base Weight
- ULA Ohm vs Gossamer Gear Gorilla 50: Specs Compared
- ULA Circuit vs Gossamer Gear Mariposa 60: Pack Specs
- Gossamer Gear Mariposa 60 vs Hyperlite Southwest 55: Specs
- Gossamer Gear Gorilla 50 vs Hyperlite Southwest 55: Specs